
gas tank repair
fix it
with j-b weldStar
Step 1: Locate the leak and mark it with a pencil
Step 2: Clean the area around the leak. Use the sandpaper to sand the tank, covering a few inches around the leak. Take it down to bare metal. The sanding does two things - cleans any paint, rust, and road grime from the gas tank repair area, as well as gives the epoxy something to grab onto. It works better than smooth metal.
Step 3: Spray the area with the cleaner and wipe it down. Repeat as needed.
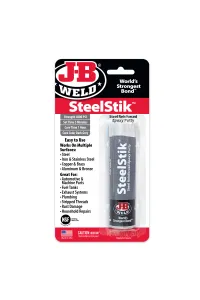
Step 4: Cut off an amount of SteelStik that you think will cover the repair. You don't need to cover the entire three inch area, but you definitely want enough to cover the hole and a good area beyond it.
Step 5: Knead SteelStik to mix the two colors uniformly. The color should be a dark gray.
Step 6: Once mixed, clean the area to be repaired again, wipe it dry and immediately press the putty into the center of the hole.
Step 7: Work the putty flat against the tank, ensuring the hole is sealed. You want the putty to be smooth and flat over the hole.
Step 8: Allow the SteelStik to fully harden and cure before driving the car, at least one hour.
needed tools &
productsStar
more productsStar
 Quick
QuickLook
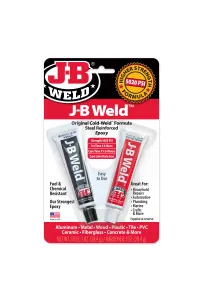
J-B Weld™
Twin Tube - 2 oz
View Product
 Quick
QuickLook
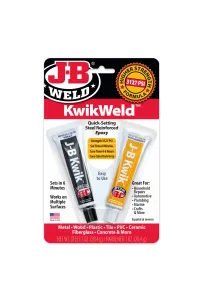
KwikWeld™
Twin Tube - 2 oz
View Product
 Quick
QuickLook
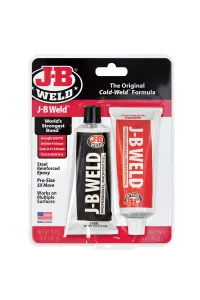
J-B Weld™
Professional Size 10 oz
View Product
 Quick
QuickLook
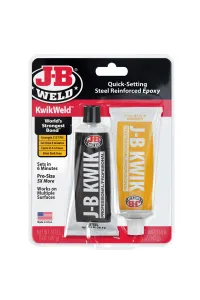
KwikWeld™
Professional Size 10 oz
View Product
 Quick
QuickLook
PlasticWeld™
Syringe - 25 ml
View Product
 Quick
QuickLook
WoodWeld™
Syringe - 25 ml
View Product
 Quick
QuickLook
PlasticBonder™
Syringe - 25 ml
View Product
 Quick
QuickLook
MinuteWeld™
Syringe - 25 ml
View Product
 Quick
QuickLook
KwikWeld™
Syringe - 25 ml
View Product
 Quick
QuickLook
PlasticBonder™
Syringe - 25 ml
View Product
 Quick
QuickLook
SteelStik™
Epoxy Putty - 2 oz
View Product
 Quick
QuickLook
PlasticWeld™
Epoxy Putty - 2 oz
View Product
 Quick
QuickLook
HighHeat™
Epoxy Putty - 2 oz
View Product
 Quick
QuickLook
TankWeld™
Epoxy Putty - 2 oz
View Product
 Quick
QuickLook
Hi-Temp Red Silicone
Gasket Maker & Sealant
View Product
 Quick
QuickLook
Clear
Silicone Sealant & Adhesive
View Product
 Quick
QuickLook
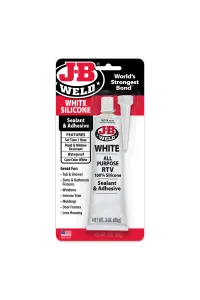
White
Silicone Sealant & Adhesive
View Product
 Quick
QuickLook
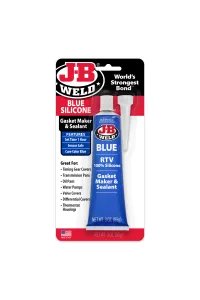
Blue Silicone
Gasket Maker & Sealant
View Product
 Quick
QuickLook
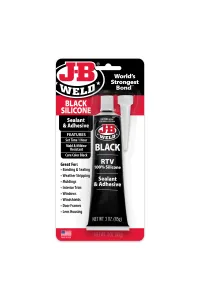
Black
Silicone Sealant & Adhesive
View Product
 Quick
QuickLook
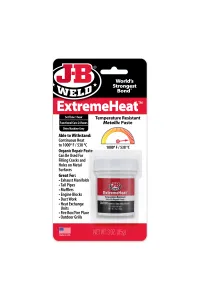
ExtremeHeat™
Paste - 3 oz
View Product
 Quick
QuickLook
LeatherWeld™
Kit
View Product
 Quick
QuickLook
TankWeld™
Kit
View Product
 Quick
QuickLook
RadiatorWeld™
Kit
View Product
 Quick
QuickLook
J-B Weld™
Syringe - 25 ml
View Product
 Quick
QuickLook
SuperWeld™
Instant Adhesive
View Product
 Quick
QuickLook
Ultimate Copper
Gasket Maker & Sealant
View Product
 Quick
QuickLook
Windshield Saver™
Kit
View Product
 Quick
QuickLook
Static Mixers
View Product
 Quick
QuickLook
ClearWeld™
Twin Tube
View Product
 Quick
QuickLook
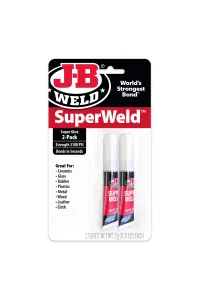
SuperWeld™
Instant Adhesive
View Product
 Quick
QuickLook
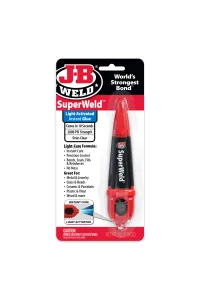
SuperWeld™ Light Activated Instant Glue
View Product
 Quick
QuickLook
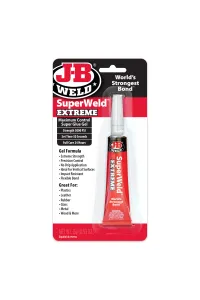
SuperWeld™ Extreme
Instant Adhesive
View Product
 Quick
QuickLook
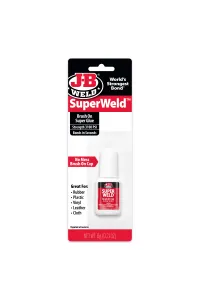
SuperWeld™ Brush-On
Instant Adhesive
View Product
 Quick
QuickLook
ExhaustWeld
Fiberglass Wrap
View Product
 Quick
QuickLook
Tiger Patch
View Product
 Quick
QuickLook
Tiger Patch Kit
View Product
 Quick
QuickLook
Body Filler Quart
View Product
 Quick
QuickLook
Body Filler Gallon
View Product
 Quick
QuickLook
Fiberglass Resin Quart
View Product
 Quick
QuickLook
Fiberglass Resin Gallon
View Product
 Quick
QuickLook
HighHeat
Syringe - 25 ml
View Product
 Quick
QuickLook
MirrorWeld
Adhesive
View Product
 Quick
QuickLook
Exhaust System Sealant
View Product
 Quick
QuickLook
AutoWeld™
Syringe - 25 ml
View Product
 Quick
QuickLook