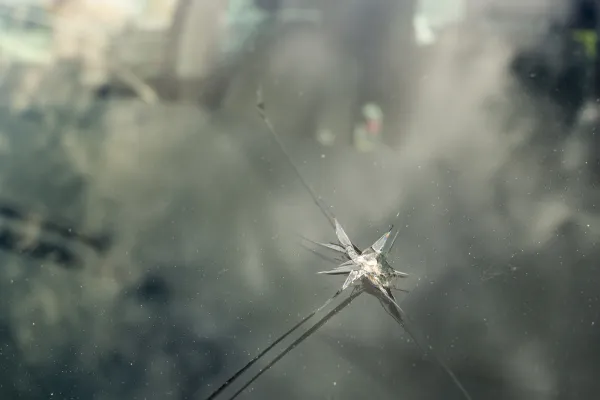
cracked windshield
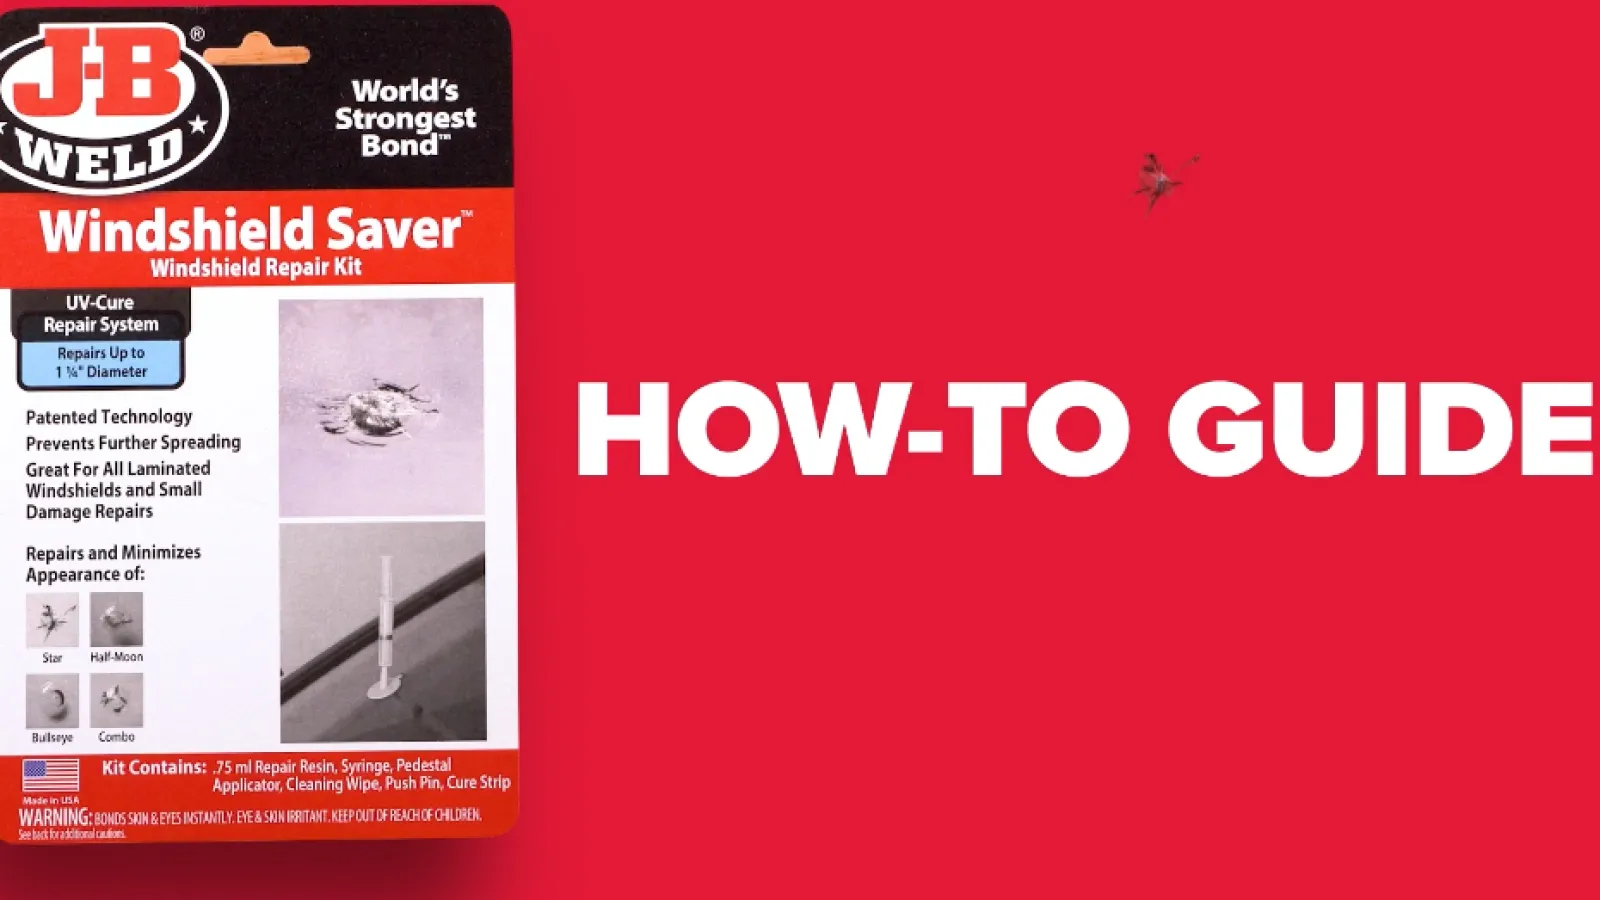
Fix It
with J-B WeldStar
Step 1: Clean loose pieces of glass from damaged area.Clean windshield around the damaged area with alcohol towelette. Place a cloth near the bottom of the windshield below the damage. This will stop resin that might flow from the repair area.
Step 2: Take the adhesive disc and peel the backing off the green side of the disc, place on glass and press firmly to ensure that the whole adhesive disc is in contact with the windshield. Look at the disc from inside the vehicle to make sure that there are no air bubbles.
Step 3: Peel off the other side of the adhesive disc. Line up the pedestal with the adhesive disc making sure that the tab again points up and matches the tab on the adhesive disc. Firmly press the pedestal against the disc again to eliminate any air bubbles in the adhesive.
Step 4: Remove the cap from the resin tube. Away from painted surfaces and your face, carefully cut off tip (approximately ⅛") to open the resin tube. Place resin tube stem ¼' into pedestal. After tube is squeezed, remove resin tube from pedestal. Wipe off any residual resin from tip. Replace cap on resin tube and save any remaining resin.
Step 5: Make sure that the plunger is pushed all the way into syringe prior to use. Carefully and firmly twist the tip of the syringe into the pedestal. The fit between syringe and pedestal should be tight.
Step 6: Hold the syringe with one hand and gently pull plunger upward with the other hand. Lock in plunger at lowest indent setting but turning plunger indent into clip. Spring clip system will secure plunger in place. Allow entire assembly to sit for 10 minutes.
Step 7: After 10 minutes, temporarily remove the syringe from the pedestal. This will allow air into syringe. With plunger still locked in lowest indent setting, carefully place syringe back in pedestal by twisting the tip of it into the pedestal. Hold the syringe with one hand and gently push plunger down with the other hand. Lock in plunger at uppermost indent setting by turning plunger indent into clip. Allow entire assembly to sit for at least 20 minutes.
Step 8: Remove the syringe. Using the safety razor, slowly remove the pedestal and the adhesive disc from the glass. Wipe off any residual resin from glass.
Step 9: Remove cap from resin tube. While holding resin tube in one hand and curing strip in the other hand, carefully squeeze a bead of any remaining resin into the hold of the damaged area. Place curing strip over damaged area to hold in resin.
Step 10: Remove any air bubbles by using safety razor to lightly smooth over curing strip. Move the vehicle to a sunny area and let sit in direct sunlight for 15 minutes. Resin will cure with natural UV sunlight. Once resin has cured, carefully remove curing strip by peeling it away from windshield. If the surface of the glass is uneven, safety razor may be used to remove any excess cured resin from windshield. Clean windshield again with alcohol towelette.
needed tools &
productsStar
more productsStar
 Quick
QuickLook
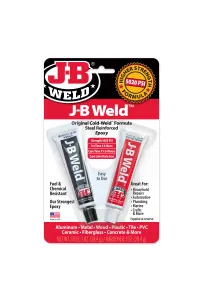
J-B Weld™
Twin Tube - 2 oz
View Product
 Quick
QuickLook
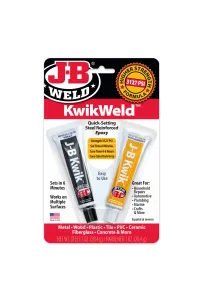
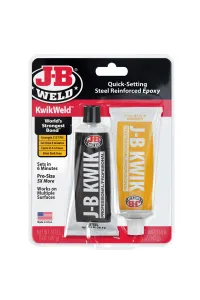
KwikWeld™
Twin Tube - 2 oz
View Product
 Quick
QuickLook
J-B Weld™
Professional Size 10 oz
View Product
 Quick
QuickLook
KwikWeld™
Professional Size 10 oz
View Product
 Quick
QuickLook
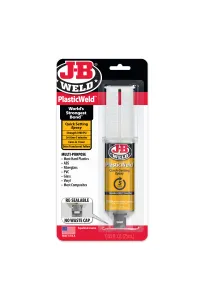
PlasticWeld™
Syringe - 25 ml
View Product
 Quick
QuickLook
WoodWeld™
Syringe - 25 ml
View Product
 Quick
QuickLook
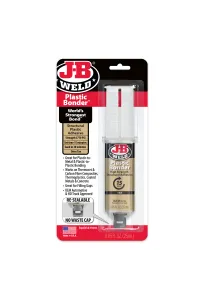
PlasticBonder™
Syringe - 25 ml
View Product
 Quick
QuickLook
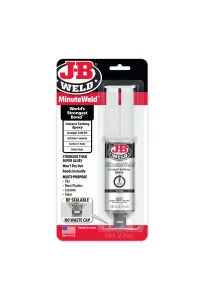
MinuteWeld™
Syringe - 25 ml
View Product
 Quick
QuickLook
KwikWeld™
Syringe - 25 ml
View Product
 Quick
QuickLook
PlasticBonder™
Syringe - 25 ml
View Product
 Quick
QuickLook
SteelStik™
Epoxy Putty - 2 oz
View Product
 Quick
QuickLook
PlasticWeld™
Epoxy Putty - 2 oz
View Product
 Quick
QuickLook
HighHeat™
Epoxy Putty - 2 oz
View Product
 Quick
QuickLook
TankWeld™
Epoxy Putty - 2 oz
View Product
 Quick
QuickLook
Hi-Temp Red Silicone
Gasket Maker & Sealant
View Product
 Quick
QuickLook
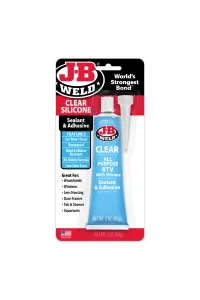
Clear
Silicone Sealant & Adhesive
View Product
 Quick
QuickLook
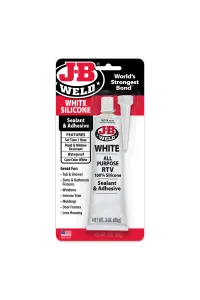
White
Silicone Sealant & Adhesive
View Product
 Quick
QuickLook
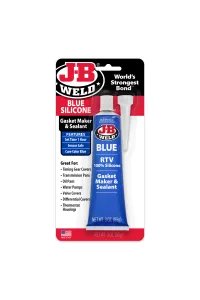
Blue Silicone
Gasket Maker & Sealant
View Product
 Quick
QuickLook
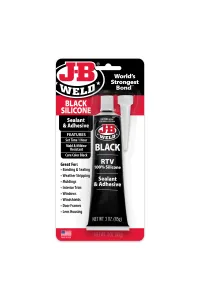
Black
Silicone Sealant & Adhesive
View Product
 Quick
QuickLook
ExtremeHeat™
Paste - 3 oz
View Product
 Quick
QuickLook
LeatherWeld™
Kit
View Product
 Quick
QuickLook
TankWeld™
Kit
View Product
 Quick
QuickLook
RadiatorWeld™
Kit
View Product
 Quick
QuickLook
J-B Weld™
Syringe - 25 ml
View Product
 Quick
QuickLook
SuperWeld™
Instant Adhesive
View Product
 Quick
QuickLook
Ultimate Copper
Gasket Maker & Sealant
View Product
 Quick
QuickLook
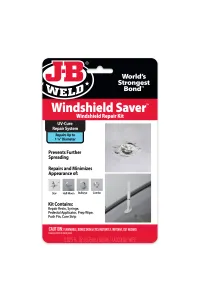
Windshield Saver™
Kit
View Product
 Quick
QuickLook
Static Mixers
View Product
 Quick
QuickLook
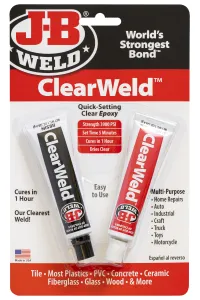
ClearWeld™
Twin Tube
View Product
 Quick
QuickLook
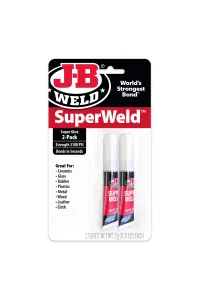
SuperWeld™
Instant Adhesive
View Product
 Quick
QuickLook
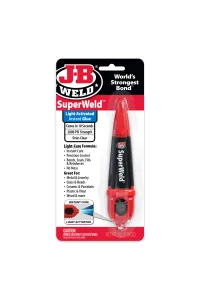
SuperWeld™ Light Activated Instant Glue
View Product
 Quick
QuickLook
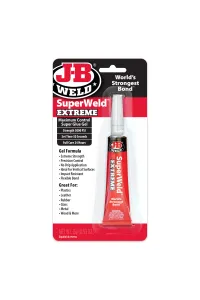
SuperWeld™ Extreme
Instant Adhesive
View Product
 Quick
QuickLook
SuperWeld™ Brush-On
Instant Adhesive
View Product
 Quick
QuickLook
ExhaustWeld
Fiberglass Wrap
View Product
 Quick
QuickLook
Tiger Patch
View Product
 Quick
QuickLook
Tiger Patch Kit
View Product
 Quick
QuickLook
Body Filler Quart
View Product
 Quick
QuickLook
Body Filler Gallon
View Product
 Quick
QuickLook
Fiberglass Resin Quart
View Product
 Quick
QuickLook
Fiberglass Resin Gallon
View Product
 Quick
QuickLook
HighHeat
Syringe - 25 ml
View Product
 Quick
QuickLook
MirrorWeld
Adhesive
View Product
 Quick
QuickLook
Exhaust System Sealant
View Product
 Quick
QuickLook
AutoWeld™
Syringe - 25 ml
View Product
 Quick
QuickLook