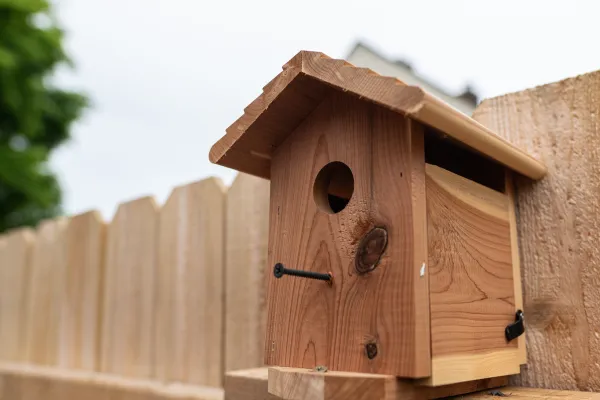
build a better birdhouse
build it
with j-b weldStar
Step 1: Drill a hole that is 1 to 3 inches circumference in one of the 5x8 inch pieces of wood.
Step 2: Sand the edges of the drilled hole until smooth to the touch.
Step 3: If you are planning to paint or stain the birdhouse, paint each individual piece prior to assembling, allowing time to dry.
Step 4: Place the 5x3.25in floor piece on a flat surface.
Step 5: Open and dispense WoodWeld syringe into mixing tray (provided in package), and mix 50/50 thoroughly until uniform color. You can also use a Static Mixer to mix and dispense directly onto the surface.
Step 6: Apply WoodWeld to connecting sides of the birdhouse walls using stick provided in WoodWeld package.
Step 7: Use clamps to connect the 4 walls of the birdhouse together and leave to dry and cure, WoodWeld cures in 1-3 hours.
Step 8: Attach floor piece to walls using a screw in each of the 4 corners.
Step 9: Use WoodWeld to connect the wooden roof pieces to the four walls at a 90 degree angle. WoodWeld has a resealable cap, so you can use the same tube again after opening. The roof panels should overlap, with the left side (the longer piece) sitting higher than the right. Slope the roof panels, connecting the two pieces with WoodWeld and clamping them for 1-3 hours prior to attaching them to the four walls.
Step 10: Screw the roof panels into the walls. After the WoodWeld has cured, use the galvanized screws to set the roof panels into the front and back walls. Align your screws with the outer edges of the birdhouse walls carefully. Drill through the roof panels and into the outer edges of the front and back walls until the roof panels feel firm and secure.
Step 11: Mount completed birdhouse to desired location.
needed tools &
productsStar
more productsStar
 Quick
QuickLook
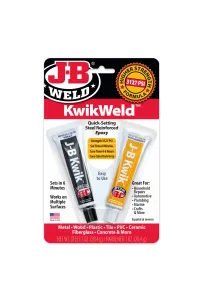
KwikWeld™
Twin Tube - 2 oz
View Product
 Quick
QuickLook
WoodWeld™
Syringe - 25 ml
View Product
 Quick
QuickLook
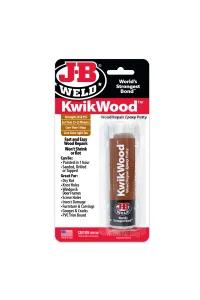
KwikWood™
Epoxy Putty - 1 oz
View Product
 Quick
QuickLook
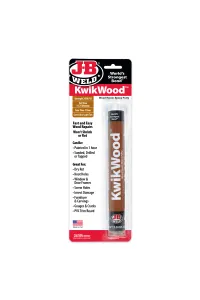
KwikWood™
Epoxy Putty - 2 oz
View Product
 Quick
QuickLook
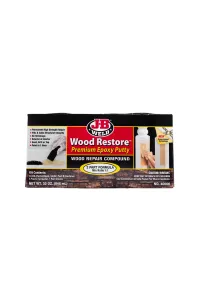
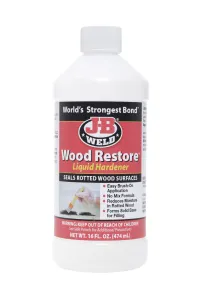
Wood Restore™
Liquid Hardener 16 oz
View Product
 Quick
QuickLook
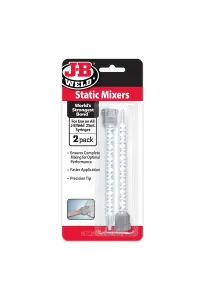
Static Mixers
View Product
 Quick
QuickLook
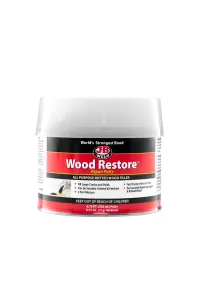
Wood Restore™
Putty
View Product
 Quick
QuickLook
J-B Weld™
ClearTop Pour-On Epoxy 32 fl oz
View Product
 Quick
QuickLook
J-B Weld™
ClearTop Pour-On Epoxy 128 fl oz
View Product
 Quick
QuickLook
Body Filler Quart
View Product
 Quick
QuickLook
Body Filler Gallon
View Product
 Quick
QuickLook
Multi-purpose Putty Quart
View Product
 Quick
QuickLook
Multi-purpose Putty Gallon
View Product
 Quick
QuickLook
J-B Weld™
ClearTop Pour-On Epoxy 256 fl oz
View Product
 Quick
QuickLook
WaterClear Pro Grade 2" Deep POur Epoxy 384 Fl Oz
View Product
QuickLook